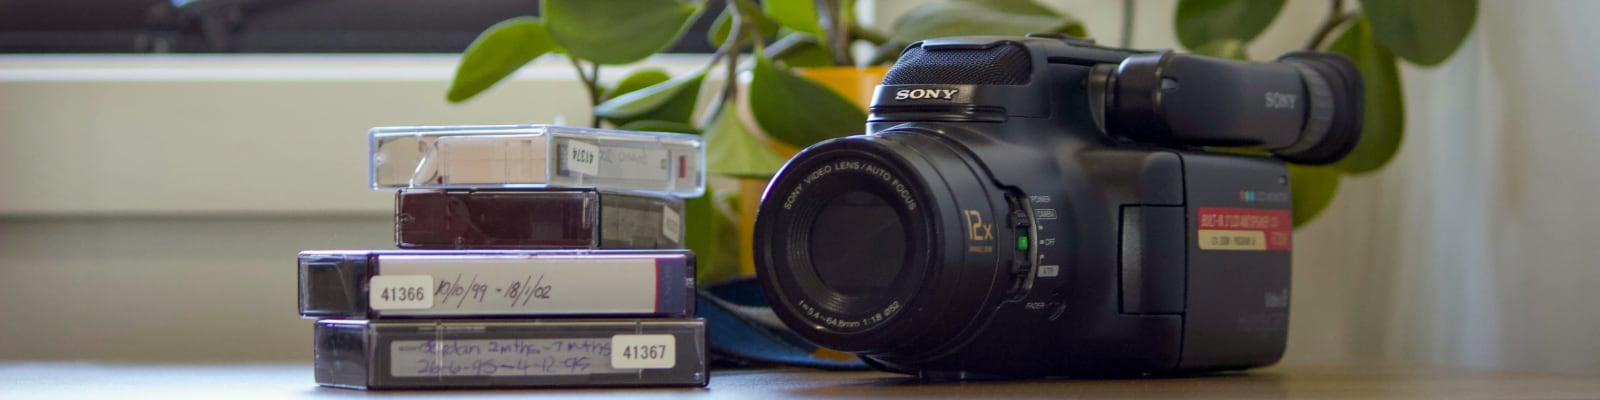
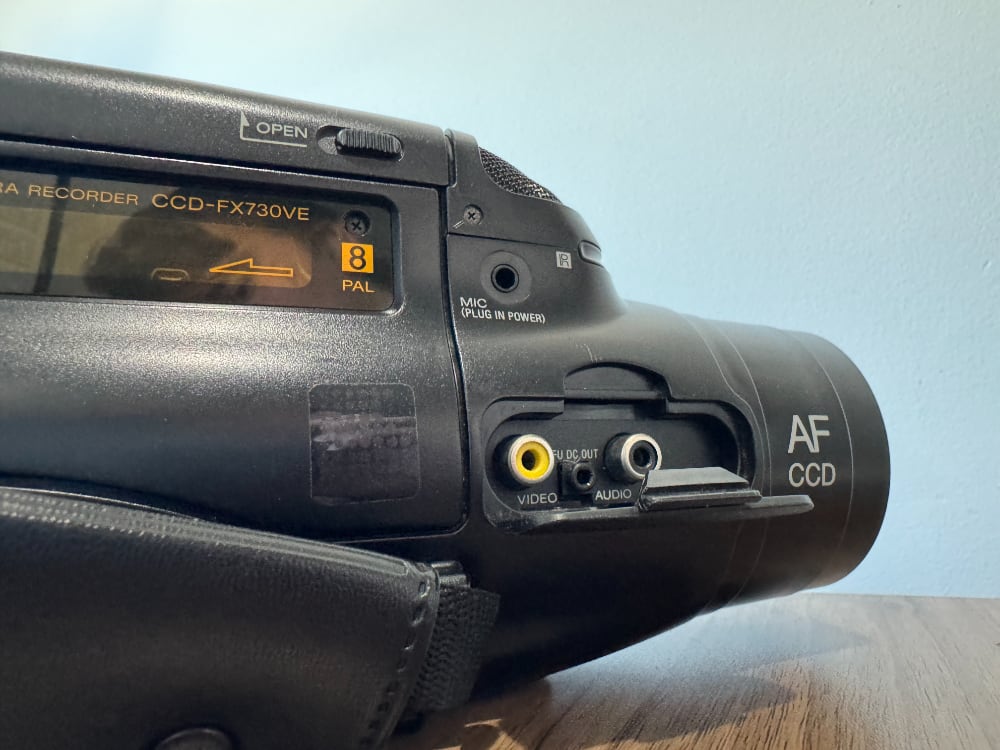
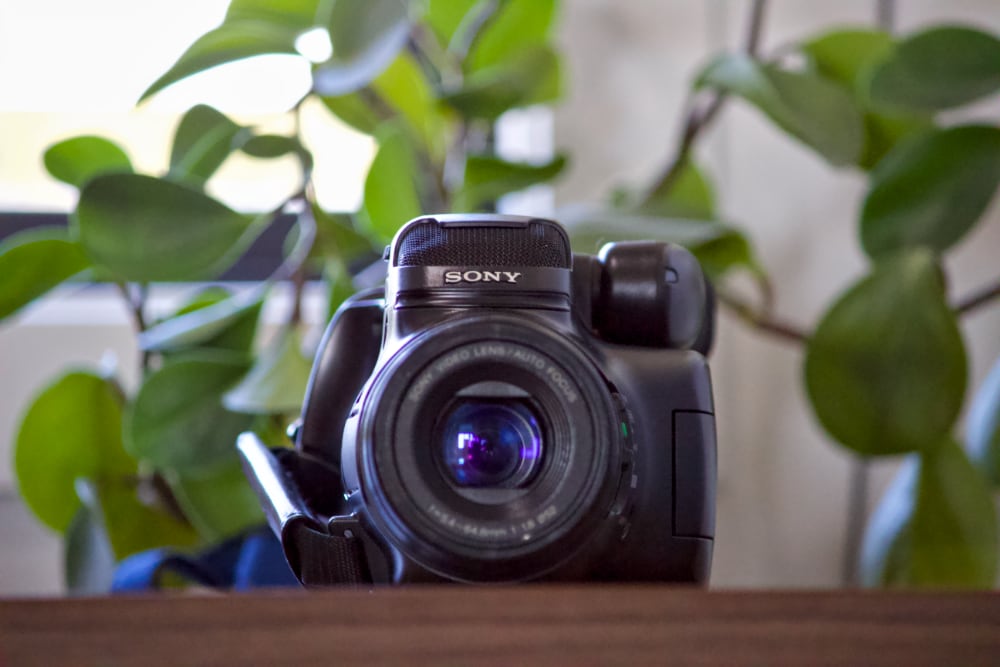
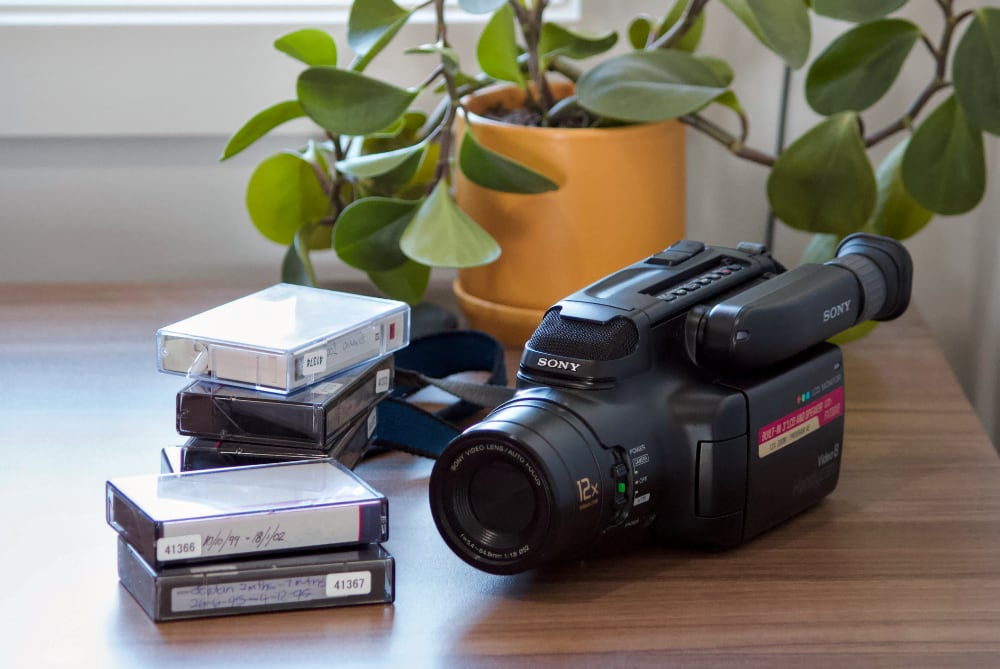
In 1995, just a few months before I was born, my parents purchased a Sony camcorder (CCD-FX730VE). This camcorder documented my brother’s and my childhood - from family outings to random evenings at home, and everything in between.
It was used regularly until around 2002 - at which point we switched to digital, and my brother and I used it to make silly little films. In total there were about 13 hours of video recorded across 10 Video8 tapes.
Magnetic tapes like these break down over time - I wanted to preserve them before it was too late. This article documents my experience digitising and cleaning up our footage. I learned a lot along the way, and I’m certainly not an expert - but hopefully this is useful if you’re looking to embark on a similar journey.
Understand the limitations; appreciate the vibe
Video is not Film
Film chemically captures the light that it was exposed to. A reel of film can be scanned at a higher resolution years later as technology improves.
Video, by contrast, is an electronic medium. When the camera sensor sees an image it’s turned into an electronic signal and either transmitted or recorded to video tape (e.g.: VHS and Video8). There’s no more real detail to find - as an archivist the best we can do is accurately capture the information which was transmitted or recorded.
You must accept that the amount of detail you can get from your video will be limited. From an archival picture quality perspective, video was a step backwards compared to film - but it was much more convenient and approachable for everyday consumers.
On the flip side - tape from a 1990s camcorder looks a lot better than much of the absolute garbage low-resolution digital video recorded on early 2000s digital cameras.
This Technology Connections video explains this well.
Camcorder footage is special
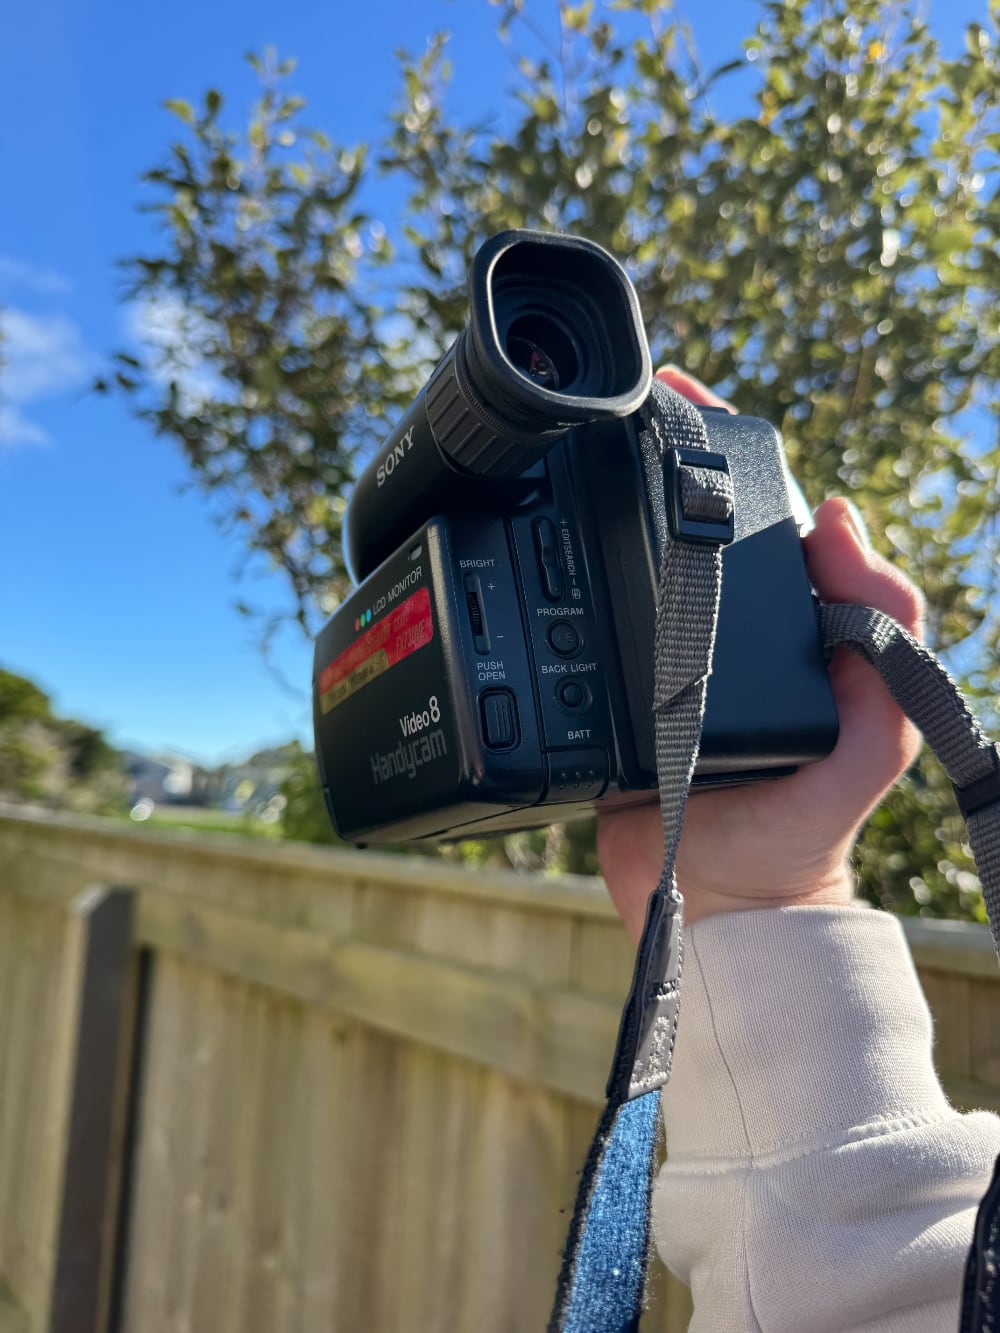
It was mostly my dad behind our camcorder - you often hear him asking questions to prompt my brother or I to speak, or sometimes flipping the camera around so he can be in the frame too.
There’s usually a lot of dizzy camera panning, intense zooms, and shaky hands. The footage is usually over-sharpened and the colours are flat. However, this all comes together to create a lovely nostalgic vibe, and the footage has a warm graininess that you grow to love.
The sequential nature of recording clips on a tape means it feels more like a movie than just a bunch of .mp4 files in a camera roll. One scene ends and another instantly begins - maybe it’s a different day or just a different angle of the same scene. It was easy to record a scene for minutes just to see what happens.
This camcorder era was a special intersection of technology and time - now we have incredibly capable cameras in our pockets, but we feel uncomfortable recording everyday life in this way, and people feel awkward about appearing in frame.
All this is to say, we aren’t going to be able to get clear, picture perfect footage - but we can preserve it for enjoyment for years to come.
Understanding Video8 and PAL
I have 10x PAL Video8 tapes in a box. Let’s break down what that means.
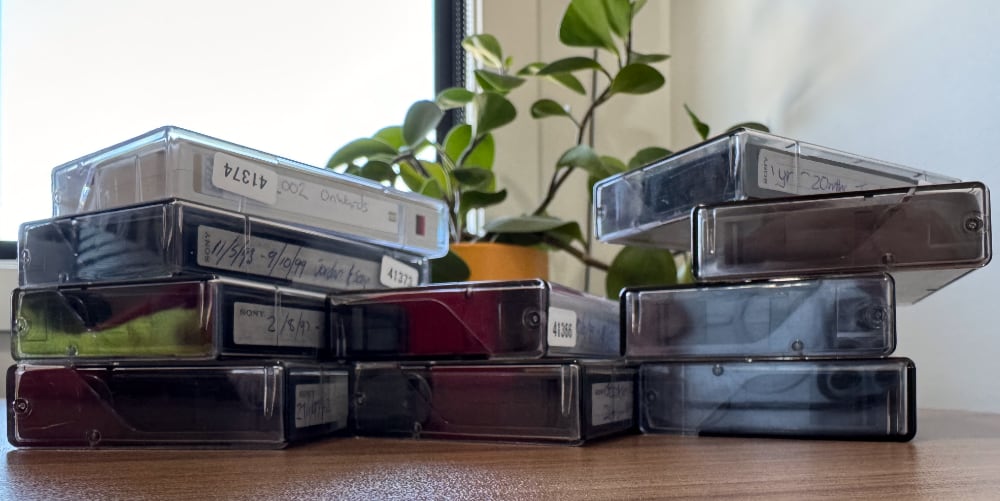
Video8 tapes are magnetic tapes containing an analog video signal. There’s also Hi8 (higher quality) and Digital8 (video encoded in a digital form rather than analog).
PAL is the analog television standard for much of Europe, Asia and Pacific regions - including New Zealand. PAL TV broadcasts have 625 lines but only 576 lines are visible - so PAL may be called 576i meaning 576 lines of interlaced video at 50 fields per second. NTSC in comparison is 480i which is 480 lines of interlaced video at 60 fields per second.
What are lines?
Like me, you’re probably used to pixels - but pixels are a digital concept.
An analog video signal is made up of a number of horizontal lines. These lines are a continuous horizontal wave of electrical voltage - there are no hard pixel boundaries.
When footage is digitised, the number of horizontal lines becomes the height in pixels - so digitised PAL footage is 576 pixels high. The width depends on how the continuous wave of electrical voltage is signalled, but the Rec. 601 standard for SD video specifies that luminance is sampled at a 13.5MHz frequency which results in a width of 720px.
This actually results in non-square pixels, which we’ll need to deal with in our processing.
What is interlacing?
First of all, I recommend watching this Captain Disillusion video which explains interlacing.
In summary - CRT televisions have to shoot a beam of electrons at glass to create an image. To avoid flicker, the CRT alternates between drawing the odd and even lines. This alternation means that as one image is being drawn, the previous image is still visible. Your brain magically blends these lines back together to create the full picture. Interlacing is where this technique is used to display two different moments of time on the odd and even lines, effectively doubling the perceived framerate of the video.
The difference between frames per second and fields per second can be quite confusing. Every frame contains two fields of information (one on odd lines, one on even lines). PAL is “576 lines at 25 frames per second” which is equivalent to saying “576 lines at 50 fields per second”.
A PAL camcorder is recording 50 fields of motion each second (equivalent to 25 interlaced frames). On the tape, the even fields will have 288 lines of video from one moment in time and the odd fields will have 288 lines of video from the moment immediately after. When you play this back on your CRT TV, it’ll do a scan with the even lines, then a scan with the odd lines, and you’ll perceive it as 576 lines with 50 motion updates per second - magic!
Retain field information when digitising
We’ll talk about de-interlacing more in the next article, but for now the key thing to know is that de-interlacing is a bit of an art. There are various techniques which can be used - from simply dropping half the fields; blending the two frames together; or more advanced software techniques which interpolate the footage to fill in the blanks from the information we have.
Deinterlacing technology improves and changes over time - so for a true archive you’ll want to capture and store the original field information (i.e., capture the footage in its 576i form) rather than baking deinterlacing into your archive.
Digitising the footage
Prior attempts
We had a few prior attempts at digitising these tapes - the most recent one was in 2010, where I digitised them using a cheap Easycap device. I didn’t realise at the time just how bad these were - the colours were off, the frame was cropped, and there were a bunch of interlacing artefacts.
So I knew this time I had to digitise them properly.
Should I DIY or get a professional?
Many data archival enthusiasts on Reddit recommend digitising your footage yourself - this is essentially the only way to have full control over the process for the best possible results. However, getting all the gear and learning to use it comes at a significant cost in time and money.
In my situation where I have only 10 tapes to do, I chose to spend the money and get a professional to digitise it instead.
Capture format and bitrate
Analog video is incredibly noisy in comparison to digital video recorded with modern cameras. There’s a heap of grain and fuzz in the footage, which can be easily wiped out by aggressive video compression, potentially creating blocky digital artefacts.
The bitrate determines how much compression the computer needs to do as the video is captured in realtime. There are two schools of thought here - some people will say that this footage contains so little detail that it’s essentially a waste to capture more than 4-6mbps (roughly 4GB for 90 mins). But on the other hand, some Reddit advice suggests capturing the raw uncompressed footage for the best possible post-processing (over 100GB for 90 mins).
I ended up going with 25mbps H264 interlaced video. This is a much smaller file than raw footage, but it’s still an overkill bitrate, ensuring the capture retains every single grain of detail. The file size is large but manageable - about 17GB for a 90-minute tape.
Why not capture it in H265 (HEVC) since it’s more efficient?
H265 is a modern format designed for modern footage so it:
- Doesn’t have support for interlaced footage; and
- Destroys a lot of random noise in footage - meaning you lose a lot of the grain.
It’s probably best to stick with H264 for the archive and use H265 for your cleaned up processed footage at the end.
What to look for in a professional
After some research I had a better idea of what I was looking for in a professional service. These are the things I’d recommend keeping an eye out for:
- Make sure they use a Time Based Corrector (TBC).
- This is hardware which helps to stabilise the footage and deal with any weird timing issues.
- Video explaining what these are
- Make sure they can provide the footage in an interlaced form (576i), retaining all the original field information.
- We’re looking for a true archive of what’s on the tape.
- Deinterlacing is a bit of an art and improves with technology - for a true archive of the original footage you’ll want to leave the field information untouched.
- Make sure they can provide the format and bitrate you require.
- If they can’t fathom why you’d want the footage captured at a higher bitrate or why you’d want interlaced footage, find someone else.
Process
I used a local company called Dub Shop - if you’re in Wellington I highly recommend them.
Here’s what the process looked like:
- Make contact with the company - explain:
- How many tapes you have and what type they are.
- What you’re after (e.g. archival 25mbps 576i H264)
- What media you’ll provide - e.g.: a hard drive or a flash drive, don’t assume they’ll upload it all to the cloud for you!
- Drop off the tapes and a hard drive.
- I provided a 2TB 3.5” hard drive to store the footage since it’d be about 180GB all up.
- They asked me to label the tapes I wanted samples for.
- They checked the tapes and provided sample footage (via Dropbox) and quoted a price for the full job.
- I checked the sample footage - confirming it was at the bitrate I expected and interlaced.
- See below for more information about what to check.
- I confirmed I was happy to proceed with the job.
- About a week later they let me know they completed the work and sent an invoice.
- I picked up the tapes and hard drive.
- I checked the footage - see below.
Trouble playing the tapes
This is actually the second time I went through this process. The first company I went to had problems reading the tapes - they were intermittently seeing green lines through the footage. We assumed it might be magnetic damage or some problem with the heads on the original camera and that the tapes were too far gone. They returned the tapes to me and we were unable to proceed with the job.
Fortunately Dub Shop had no issues playing the footage. So if you have trouble, sometimes it helps to try on some different hardware.
Checking the footage
There are a few things I checked when I got my footage back.
Metadata
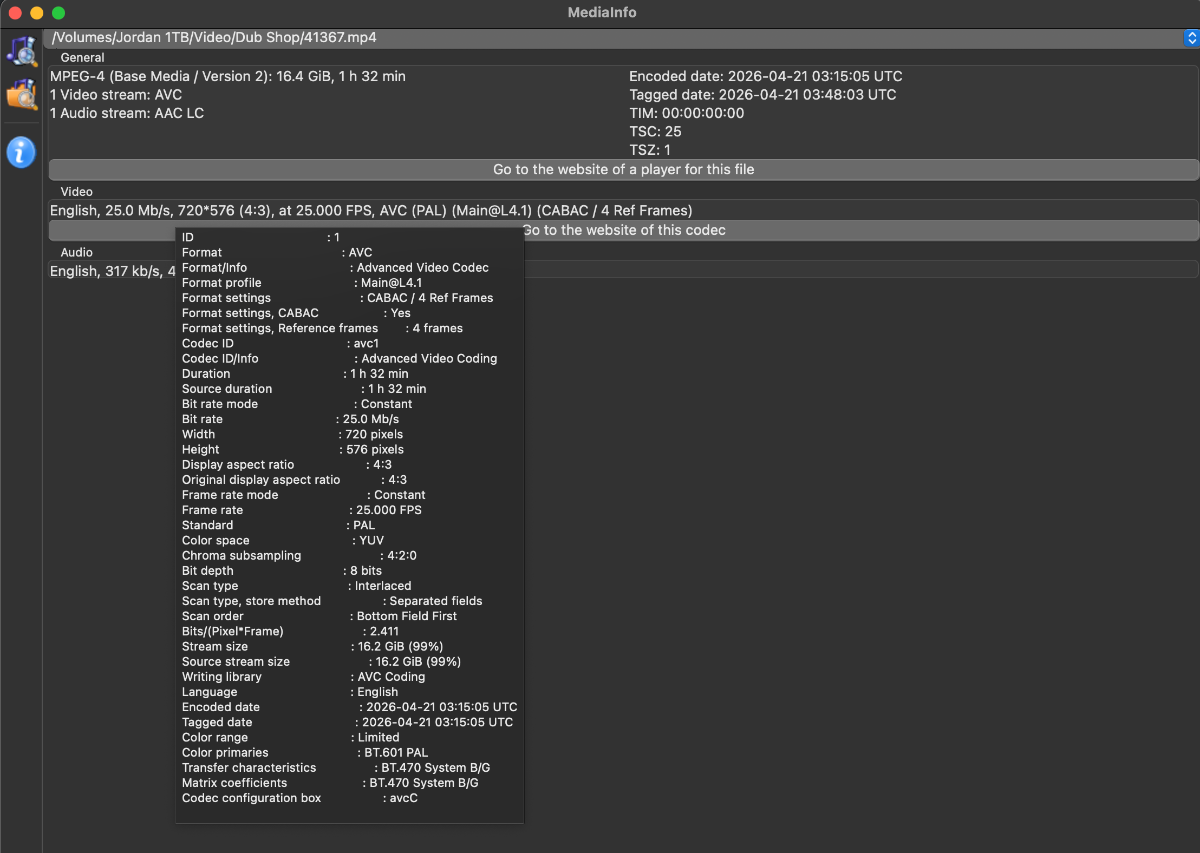
Download Mediainfo. When you open your video file and hover over the details you can check:
- Is it the format you expected? (H264)
- Is it the resolution you expected? (720x576)
- Is it the framerate you expected? (25FPS)
- Is it the bitrate you expected? (25Mb/s)
- Is it the correct aspect ratio? (4:3)
- Is it interlaced (scan type)?
Spot check
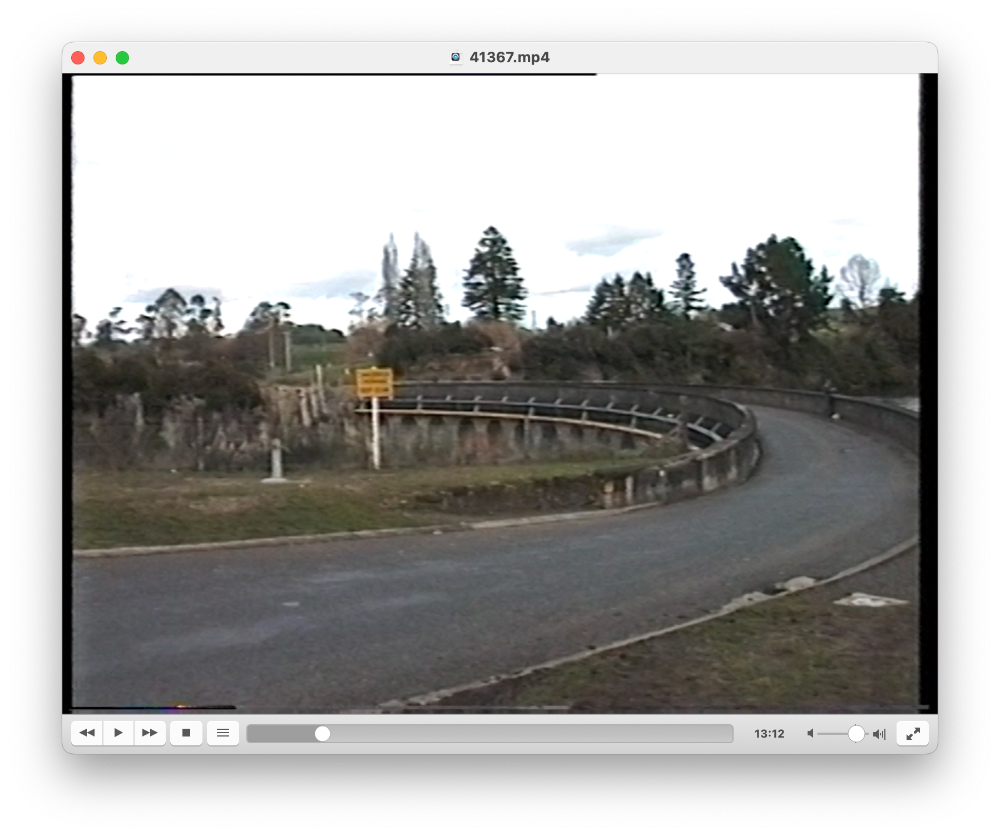
Open the footage and play it back. Check:
- Does the motion look right?
- Is the sound normal?
- Are we seeing the full frame or does it seem cropped?
- Do the colours look similar to how they were played on a TV?
(i.e.: not too vibrant or too dull)
Scrub through the rest of the footage - are there any missing pieces or glitches?
Displaying both fields
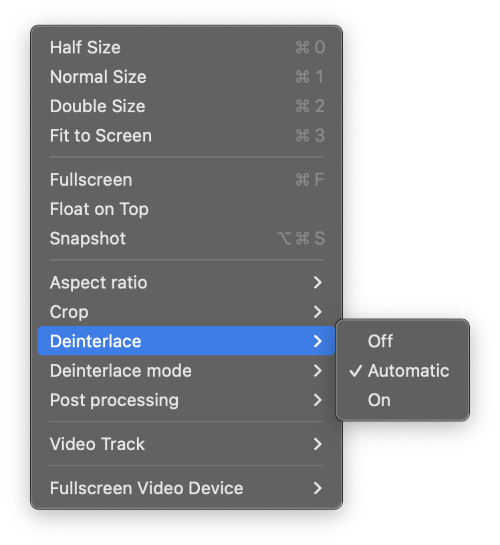
If the footage has been correctly tagged as interlaced, you may notice that players like VLC or QuickTime automatically de-interlace it so you don’t see those characteristic field lines you’d expect. To see both fields, switch interlacing off from the “Video” menu.
Storing the archived footage
I will permanently store these archives as they’re the truest representation of the contents of the tape. By keeping this I can re-process the footage in future.
To keep this footage safe I put it in my cloud storage which also syncs to my NAS (I recommend following the 3-2-1 backup strategy for files you care about).
Checksums
I computed checksums of the archival files. This means that if the footage is ever corrupted or accidentally modified so that you can recover from a backup. On my Mac I ran the shasum command to compute a SHA256 sum of the footage.
shasum -a 256 [path to footage]/*
I store this checksum with the footage - this means that even in another 30 years time I can verify these files are the exact same ones from 2026.
Next step
At the end of this process I had a high quality archive grade file. From here, I did some additional processing to create footage which is fit for playback on modern devices.