I was in need of a server that gives me remote access to my files, can run Plex, torrent and is quiet and efficient enough that it can run 24/7.

The answer? A Raspberry Pi of course! I brought mine for about $60 NZD!).
What is Docker?

I used Docker to manage the services on the Raspberry Pi. Docker containerises services allowing them to be shared and scaled easily. For me, the main benefit was that setting up a service is as easy as downloading a Docker image rather than manually installing packages and making configuration changes.
Core Concepts
An image is the starting point to setup a service. These typically come from Docker’s repository for images called Docker Hub, but failing that you can always setup an image of your own. An image includes the operating system and all other software and configuration needed to run the service.
A container is an instance of an image. Each runs independently with individual file systems and environment variables. You can run multiple containers for the same service without them clashing.
While this sounds like a performance nightmare, Docker doesn’t actually run containers as virtual machines but they instead share the same kernel. This means that even on a little device like the Raspberry Pi you can still run plenty of containers at once, even hundreds.
Running Docker on the Raspberry Pi

The Docker community for systems with ARM processors is growing. A big name in this space is Hypriot with HypriotOS. This is a lightweight operating system for your Raspberry Pi with Docker built in.
Only Docker images built specifically for ARM processor’s will work on the Pi. Usually adding rpi as a search term in Docker Hub helps find compatible images.
Setting up an external hard drive
I chose the EXT4 file system as this doesn’t require additional software to be installed on the Pi and compatibility with other systems isn’t a major requirement for me. I setup the system to auto mount the drive using it’s UUID and setup the drive to automatically go to sleep using hd-idle.
Managing service configuration

I used Docker Compose to manage services on the Pi. Docker Compose works as a layer on top of the Docker command line meaning you can start and manage the entire stack with a single command.
The Docker Compose file containing the services stack can be stored in Git so you always have access to your working configuration. Re-installing is easy, just clone the repository and run docker-compose up -d, then wait as the images download.
Services
Pydio
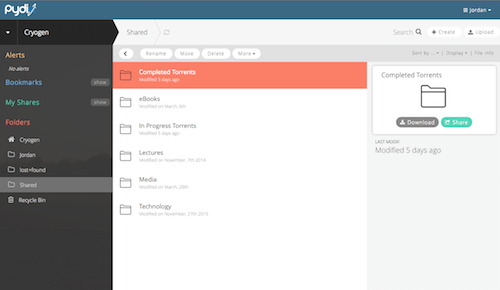
Pydio is like Google Drive for your personal content. You can get access to it from anywhere in the world, give people accounts to access your content, or share a folder to anyone with a public link.
To get Pydio running I created a Docker image of my own - however, as of 2024, I have deleted this image from Docker Hub as it was very out of date and insecure. I’d recommend checking out linuxserver/pydio.
Plex
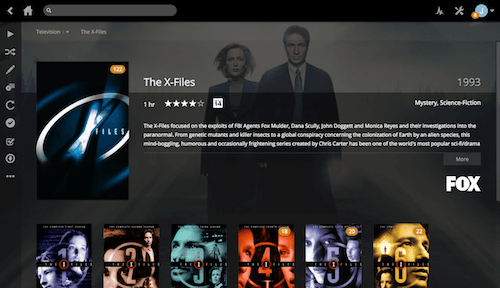
Plex is a server for your personal media collection. It collects brilliant metadata about your content and allows it to be played pretty much anywhere with the web, desktop, TV and mobile apps. To get Plex running I used greensheep/plex-server-docker-rpi.
Plex runs well, and will transcode most files for use in the Plex web-app or Rasplex, but some formats have issues like H.265 files. Everything works well on a more capable client like a computer or phone.
Deluge
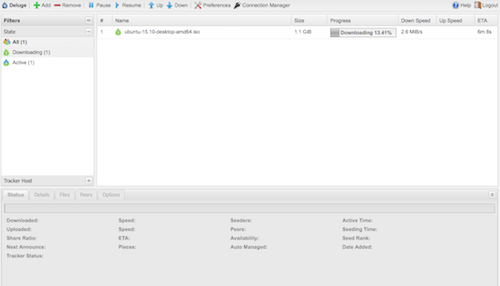
Deluge is a torrent download server. The best thing about Deluge is how client-server oriented it is. You can connect to a Deluge server through the desktop app or the web interface. Torrent is great from the Raspberry Pi because it’s always wired into the network and is on 24/7.
To get Deluge running I created a Docker image (source code) - however, as of 2024, I have deleted this image from Docker Hub as it was very out of date and insecure. I’d recommend checking out linuxserver/deluge instead.
Samba
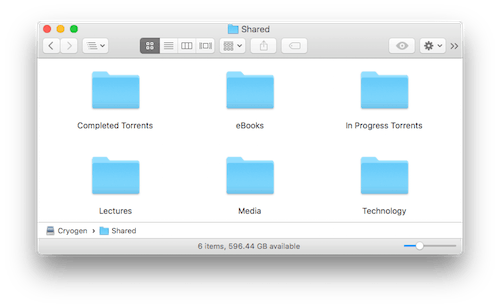
Samba allows you to connect directly to the drive from other computers using SMB. I only use Samba on my local network, with Pydio taking over for remote situations.
To get Samba going I used dastrasmue/rpi-samba - however, as of 2024 this image is fairly out of date. I’d recommend checking out dockurr/samba instead.
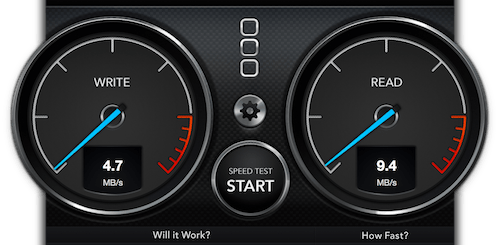
The drive access speeds aren’t amazing through Samba, but I’m hoping this will improve with the Pine 64’s gigabit ethernet and faster CPU.
Getting remote access?
Services can be accessed over the local network at a particular port or port forwarded to the internet, but a domain like plex.example.com beats 123.456.789.123:2016 anyday!
My next post covers how I got remote access to my Pi without any port forwarding or a static IP.
Take Away
I’ve learnt a few things from this experience:
- Docker is simple to use once an image has been made, but making an image of your own can take much longer than you might expect.
- Directly connected storage is significantly better. Initially, the Raspberry Pi was connected to my old Time Capsule unit using Docker Volume Netshare. This worked well but in the end is a much more complicated solution than required.
- Have a good look through Docker Hub before creating a Docker image. There are plenty of images out there you just need to look hard, and of course if you do implement your own service, please release it for everyone to use!
Edit, 13 Oct 2024: I have removed some dead links to some old Docker images I had created. These images were very out of date so were a security risk. As I am no longer in a position to maintain these I have deleted these images and make more up to date recommendations here.
Edit, 2 Feb 2025: I have updated some links to the Hypriot website - they now appear to be hosted on hypriot.io rather than hypriot.com
